The Prep Work That Makes Paint Last on a Waterfront Home

Chad Feagley • May 1, 2026

Share this article

When most people think about painting a house, they picture brushes and rollers. But the truth is, the prep work is where a lasting paint job is won or lost — and on a waterfront home, that prep work matters even more.

Here's exactly what we do before a single drop of paint goes on.

Pressure Washing

The first step once the scaffolding is in place is pressure washing all the surfaces. Houses collect dirt and cobwebs over time, and on a waterfront home like this one in Point Richmond, California, there's a significant amount of salt sitting on the exterior from the SF Bay Area water. We want to pressure wash all of that clean so we have a good working surface to begin with.

Identifying Trouble Areas

From there, we go around and pinpoint all the trouble areas — whether it's rotted wood or areas that need more attention during prep. We make note of specific spots and what will be required to make them weather tight.

Sanding, Caulking, and Patchwork

We begin the prep process by doing a light sanding on a lot of the surfaces. This agitates the surface and opens the pores so that when we apply new products, they bond properly. We then do caulking and patchwork to seal any gaps, so the finished product has a solid weather barrier and is protected from any intrusion into the house.

Repairing Water-Damaged Wood

On this project, we found a couple of areas where water had intruded into the wood, creating soft spots. Here's what we do:

  1. We dig those areas out and let them dry.
  2. We apply a two-part epoxy liquid to penetrate the wood. The epoxy cuts off the rot from spreading further and strengthens the wood.
  3. We let that dry over the course of about a day.
  4. We then apply a two-part epoxy filler to fill in the damaged surfaces and flush them out.
  5. After letting that dry for about 24 hours, we sand it down to smooth the area and clean the surface of dust.

Priming

Priming is a key part of protecting the work that has been done. Priming encapsulates the area and creates a surface for the new coating system to bond. By using this method, the damaged areas will now last an incredible amount of time and hold strong to the surface.

Masking

Finally, we mask the windows, door hardware, and ground cover, and cover any plants — making sure those areas stay clean throughout the process.

With everything prepped and protected, we're ready for the painting portion.

In Part 3, we'll cover the paint system we chose for a salt-air environment, the spray and back-roll technique that gives us a uniform finish, and how we handle the final walk-through with the homeowner.

Recent Posts

By Chad Feagley May 8, 2026
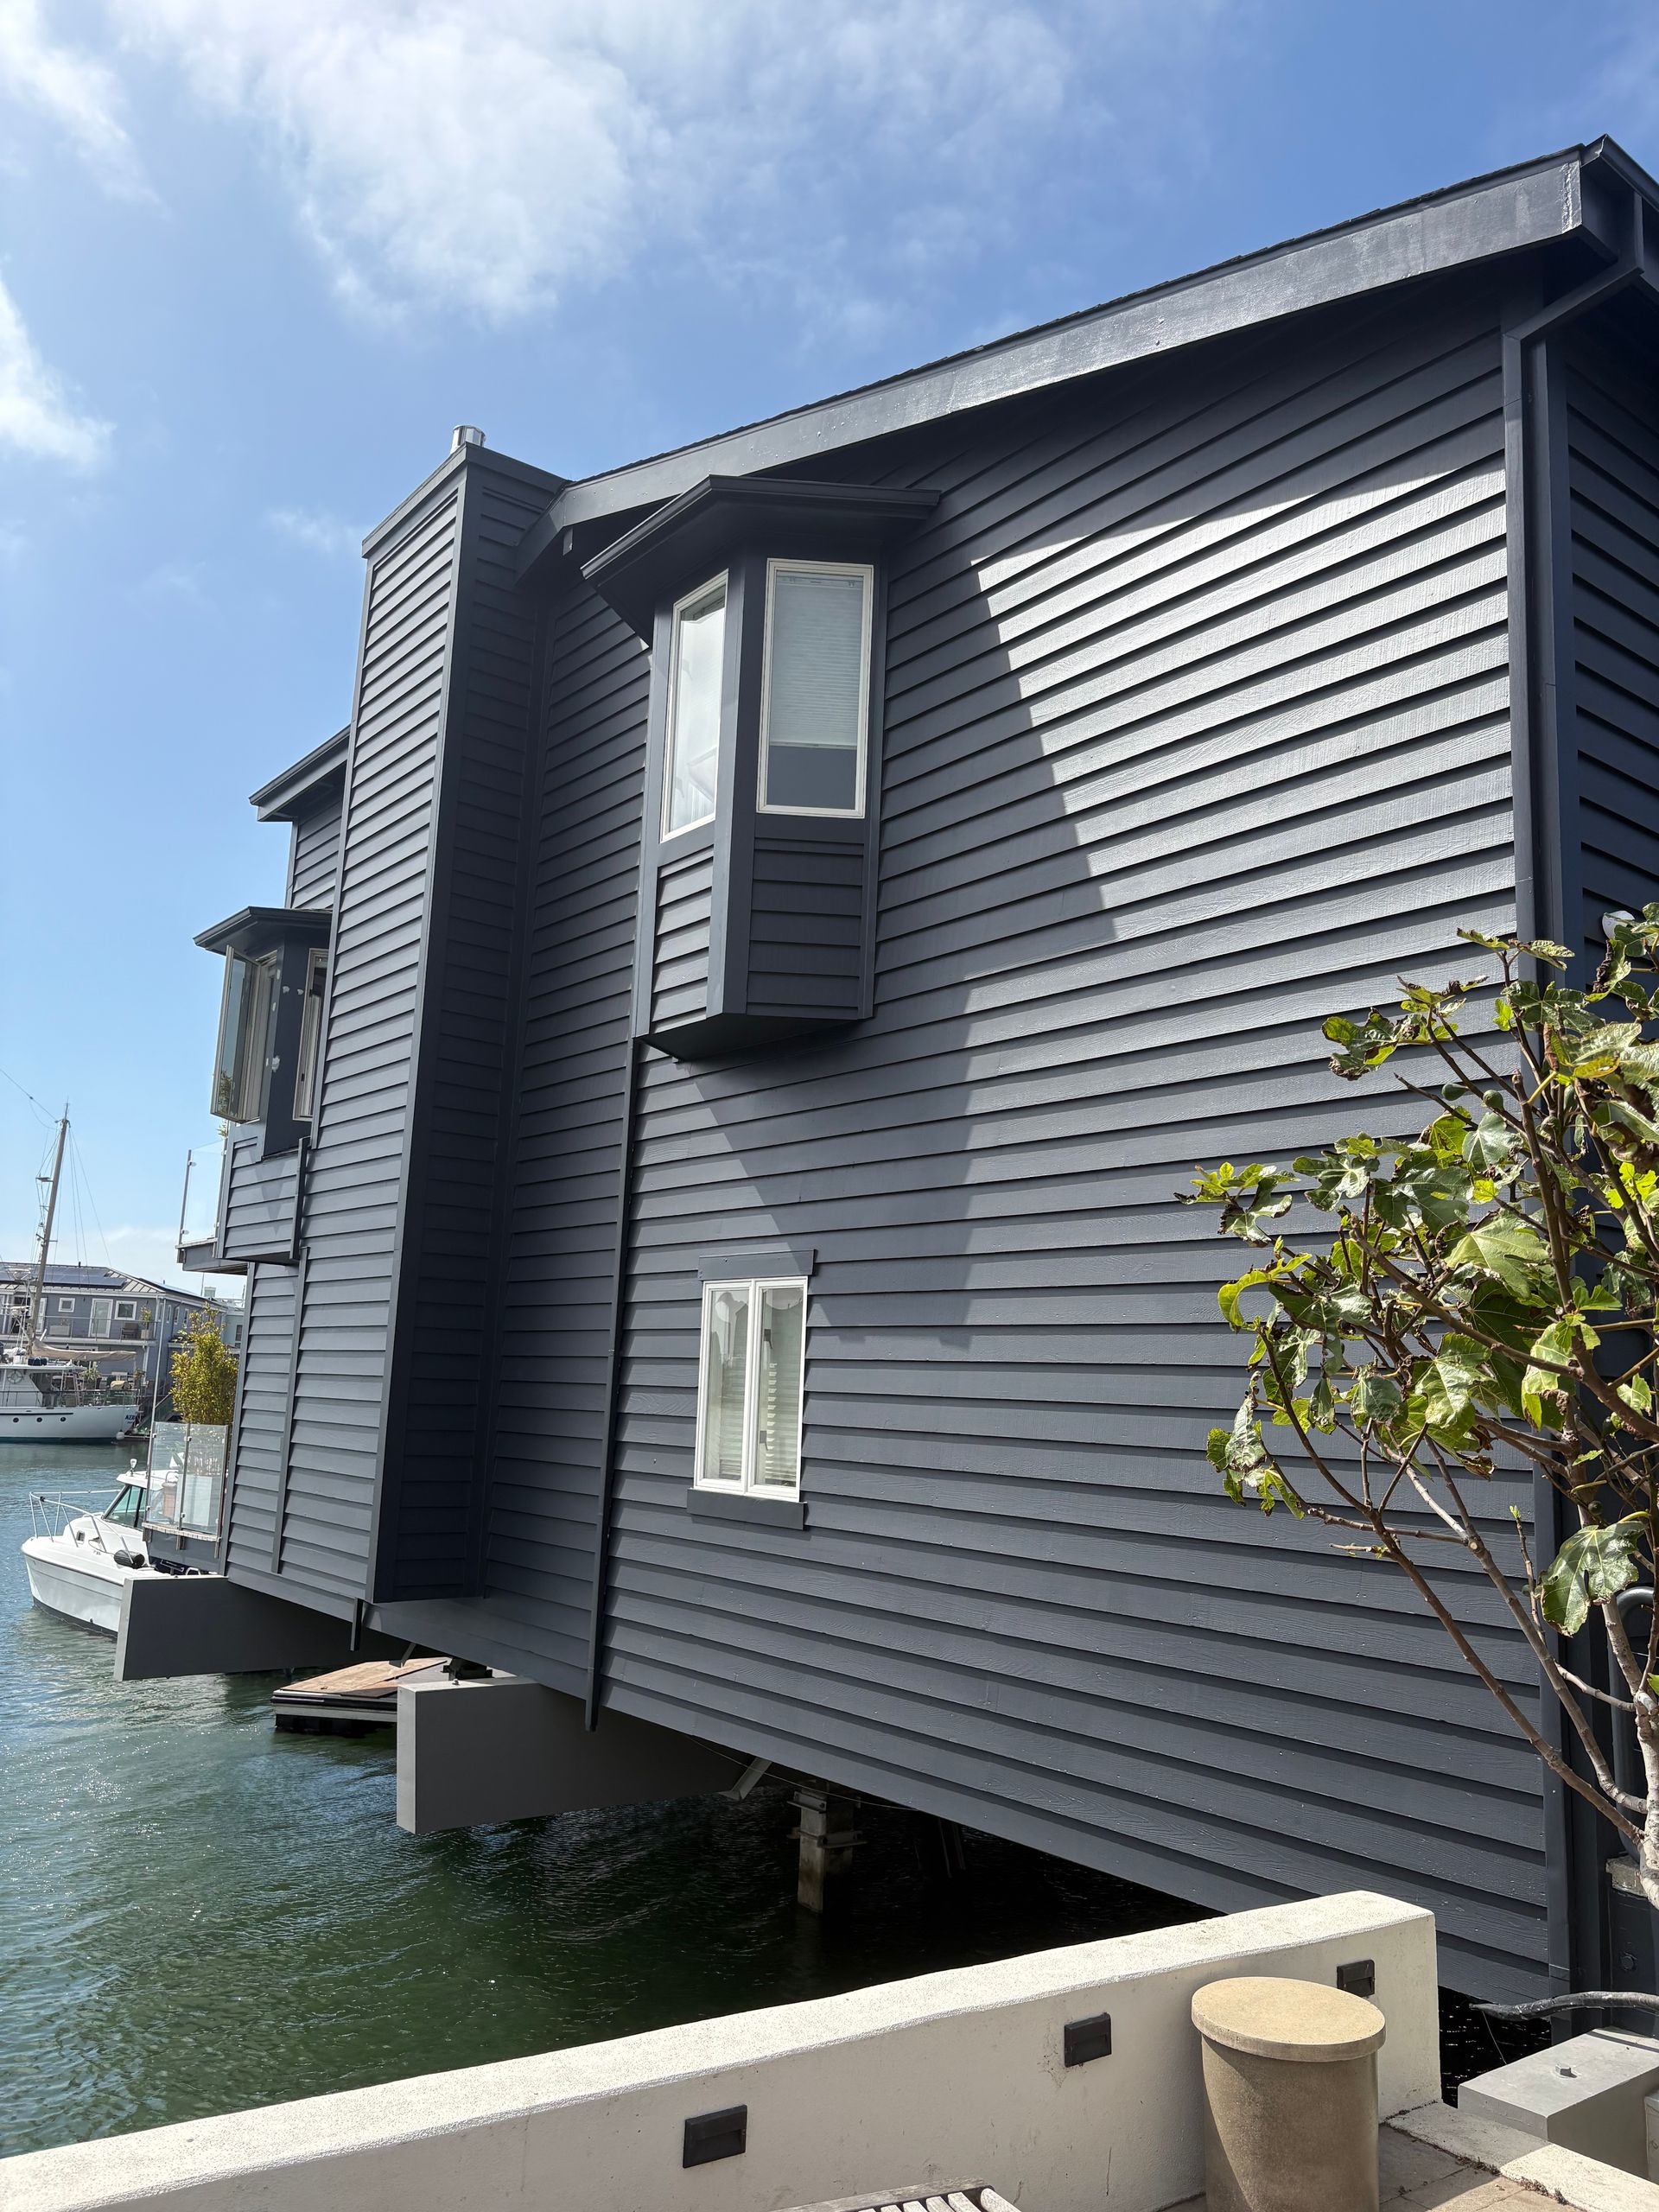
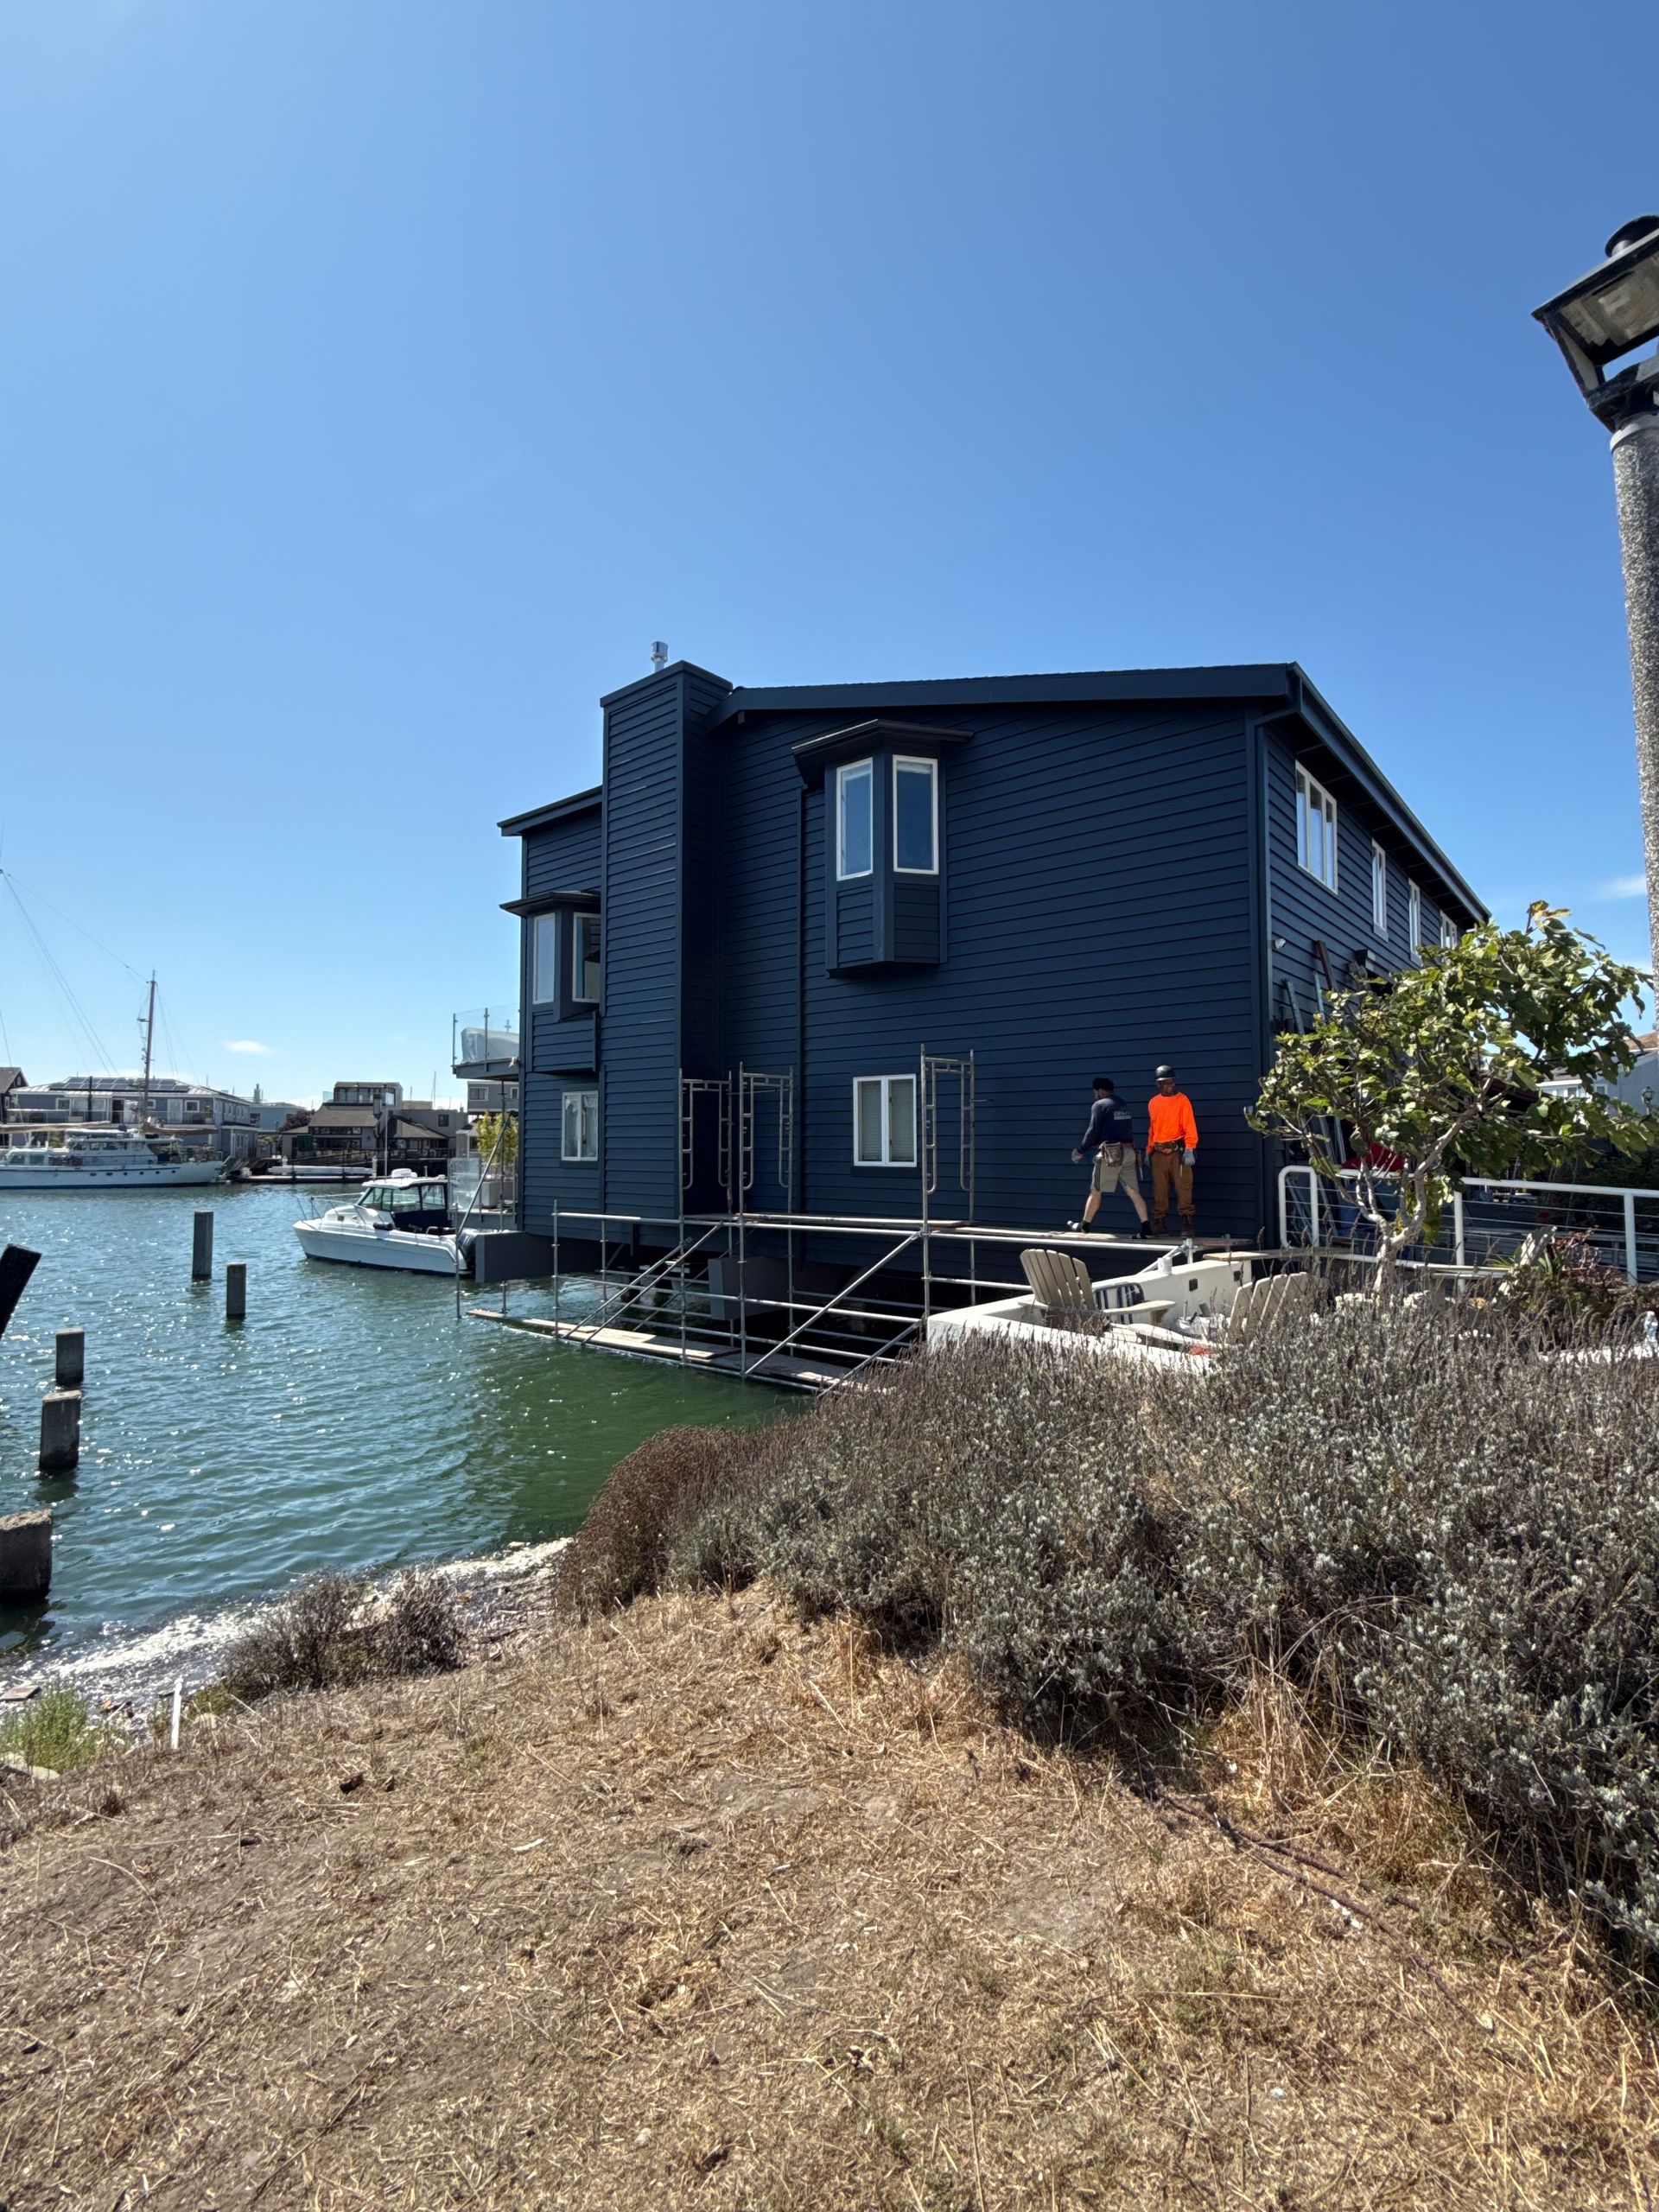
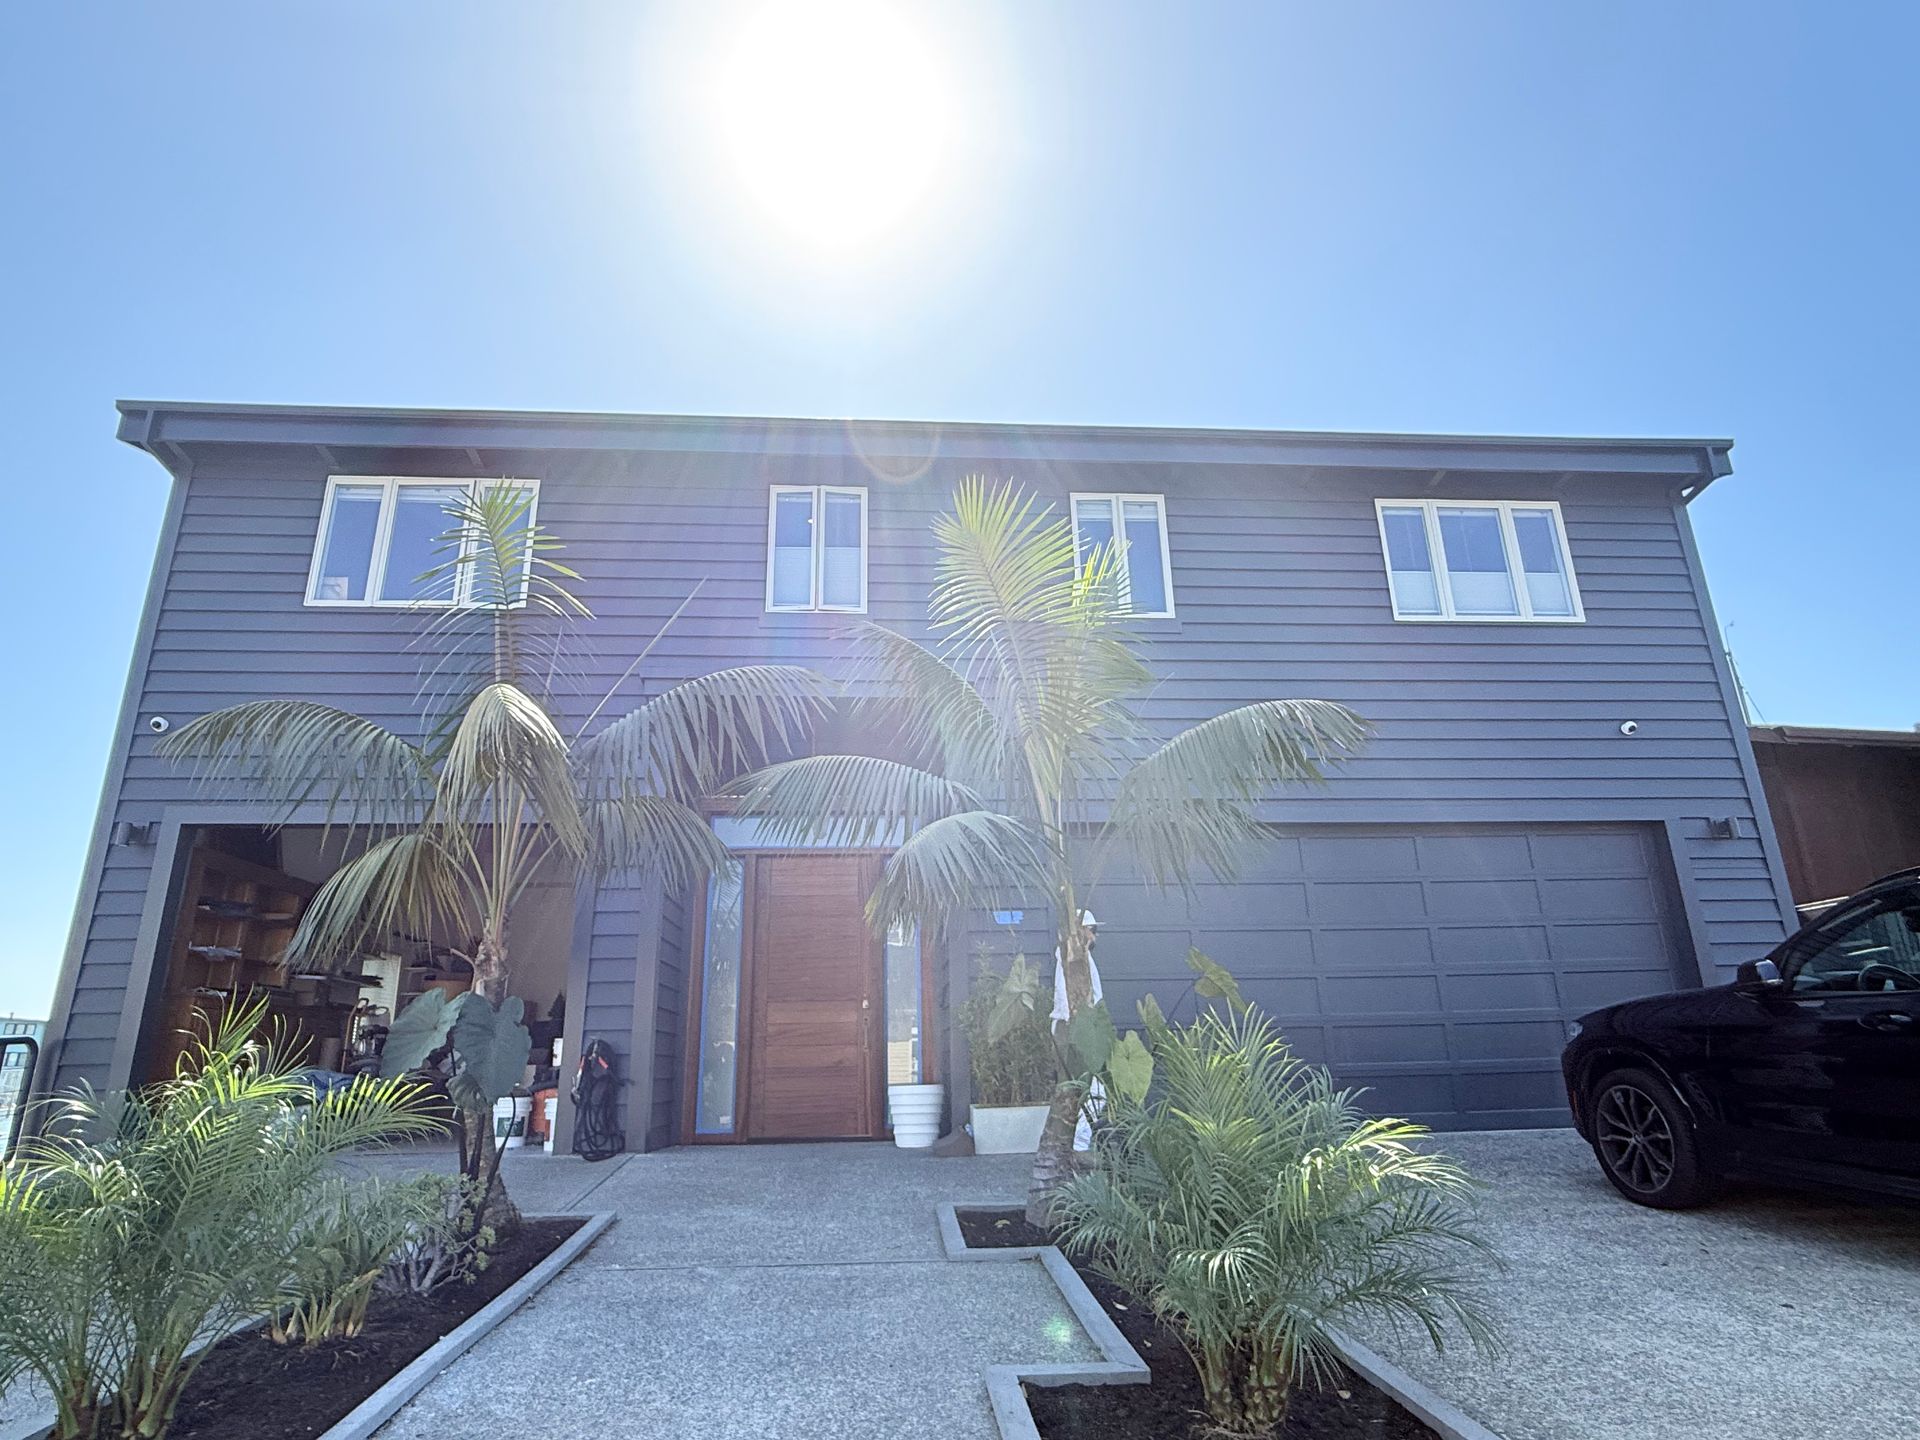
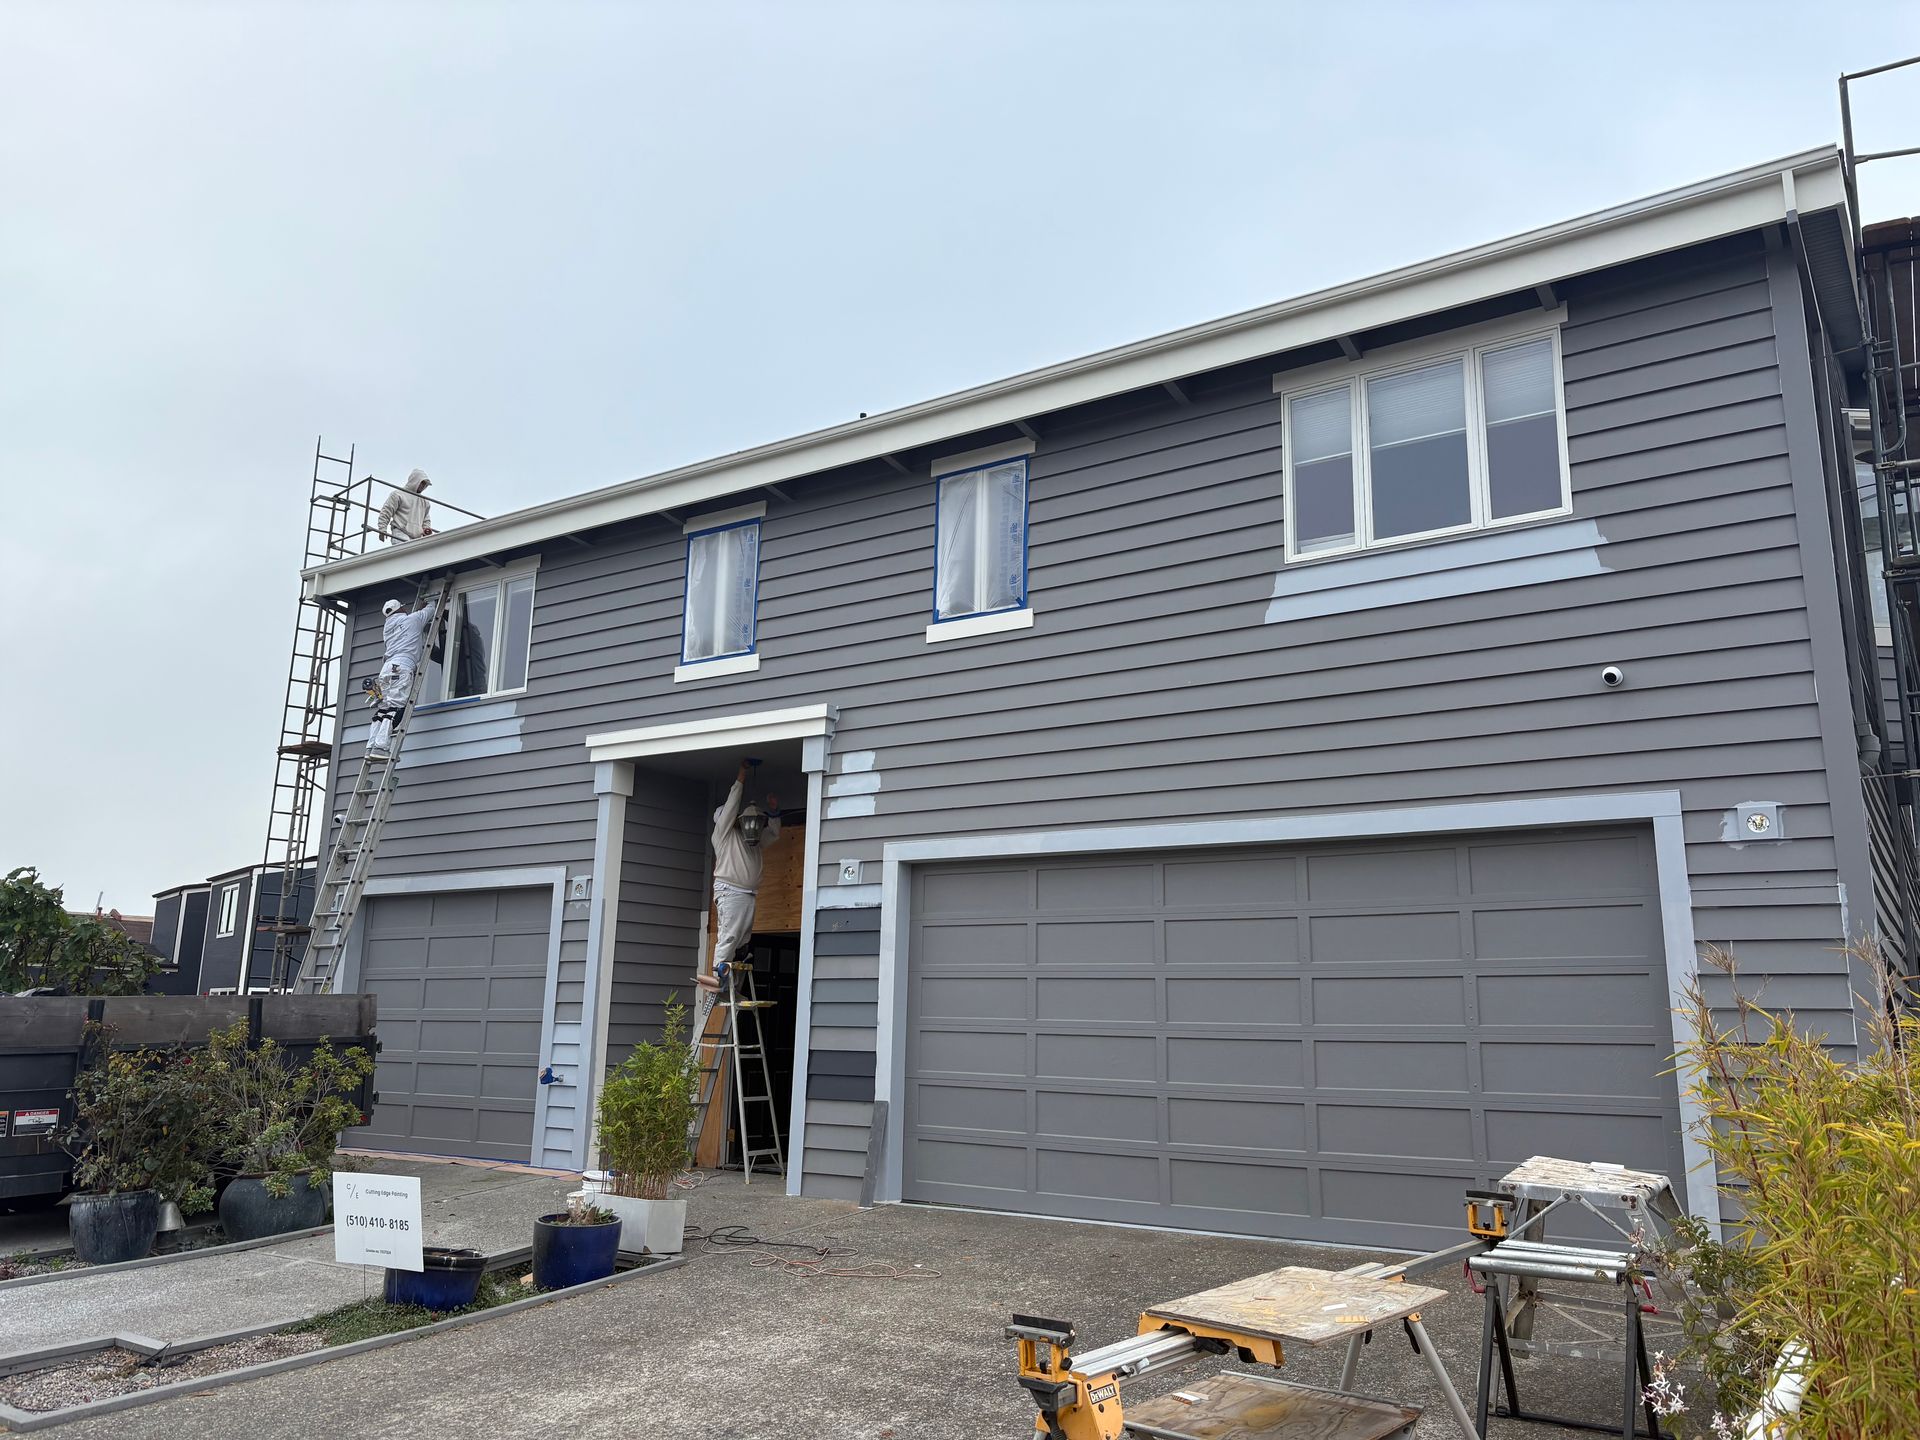
Chad Feagley of Cutting Edge Painting explains paint system selection for salt-air environments, spray and back-roll technique, and the final walk-through on a Point Richmond waterfront home.
By Chad Feagley April 24, 2026
See how Cutting Edge Painting handles a exterior project for waterfront home in Point Richmond, California from the first walkthrough to scaffolding setup.
By Chad Feagley April 17, 2026
Choosing the right exterior paint colors means balancing aesthetics, materials, and architecture. Cutting Edge Painting serves El Cerrito, Rockridge, Alameda, Richmond, and the East Bay Area.
Bright kitchen with white cabinets, dining table, and arched doorway under warm ceiling lights
By Chad Feagley April 10, 2026
Learn how to choose interior paint colors that tell a story in your home — from natural light to trim selection. Serving Albany, Berkeley, Oakland, and the East Bay Area.
Elegant living room with wooden furniture, patterned rugs, fireplace, and tall windows with curtains.
By Chad Feagley April 3, 2026
Discover how color shapes emotion, mood, and experience — and how Cutting Edge Painting helps East Bay homeowners find the perfect palette with a professional colorist.