Inside a 1929 MacGregor Home Restoration: How We Matched Original Wood Stain on New Baseboards
By Chad Feagley | Cutting Edge Painting | Home Painting
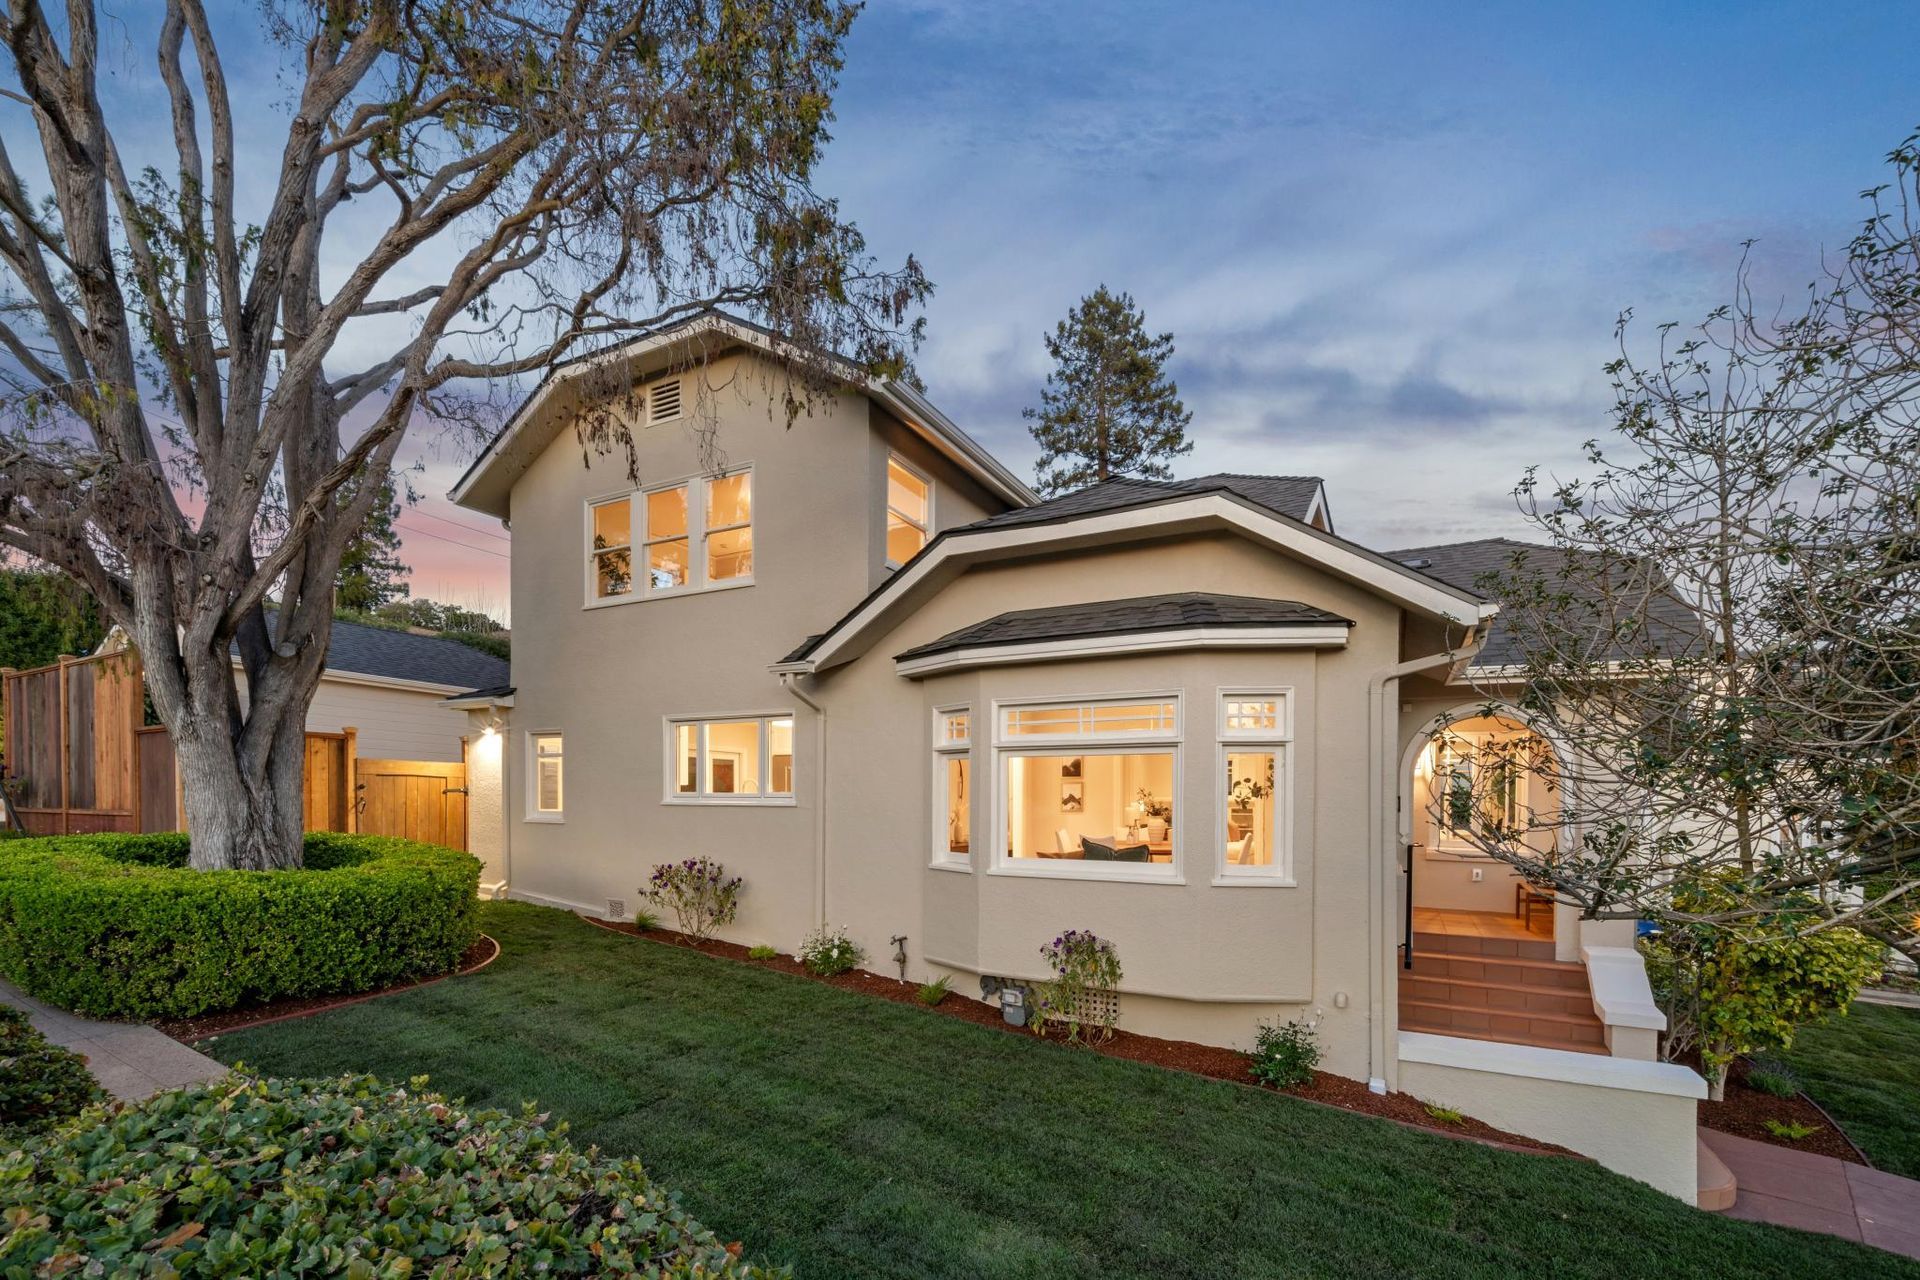
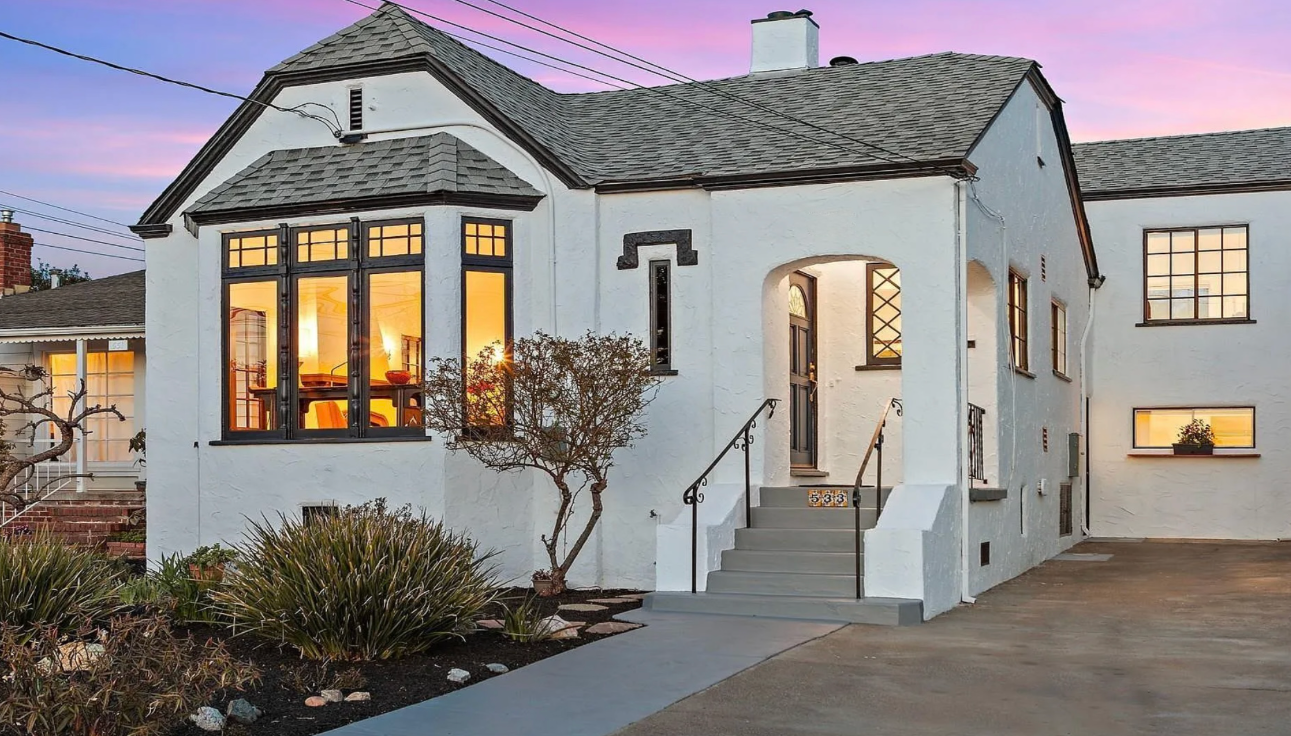
When a general contractor reached out to us about an interior painting project earlier this year, we knew right away this wasn't going to be a typical job. The home — a 1929 build by legendary East Bay developer Charles MacGregor — carried nearly a century of character. Our task wasn't just to paint it. It was to honor it.
A Home Built by a Legend
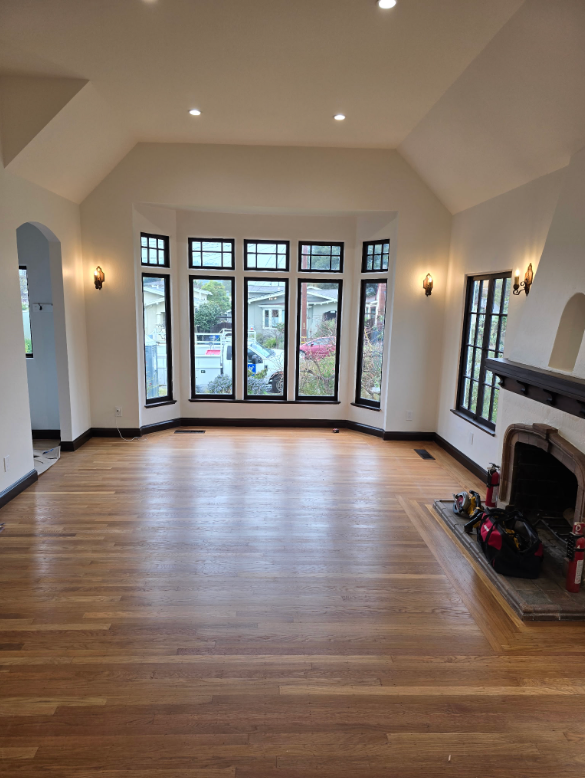
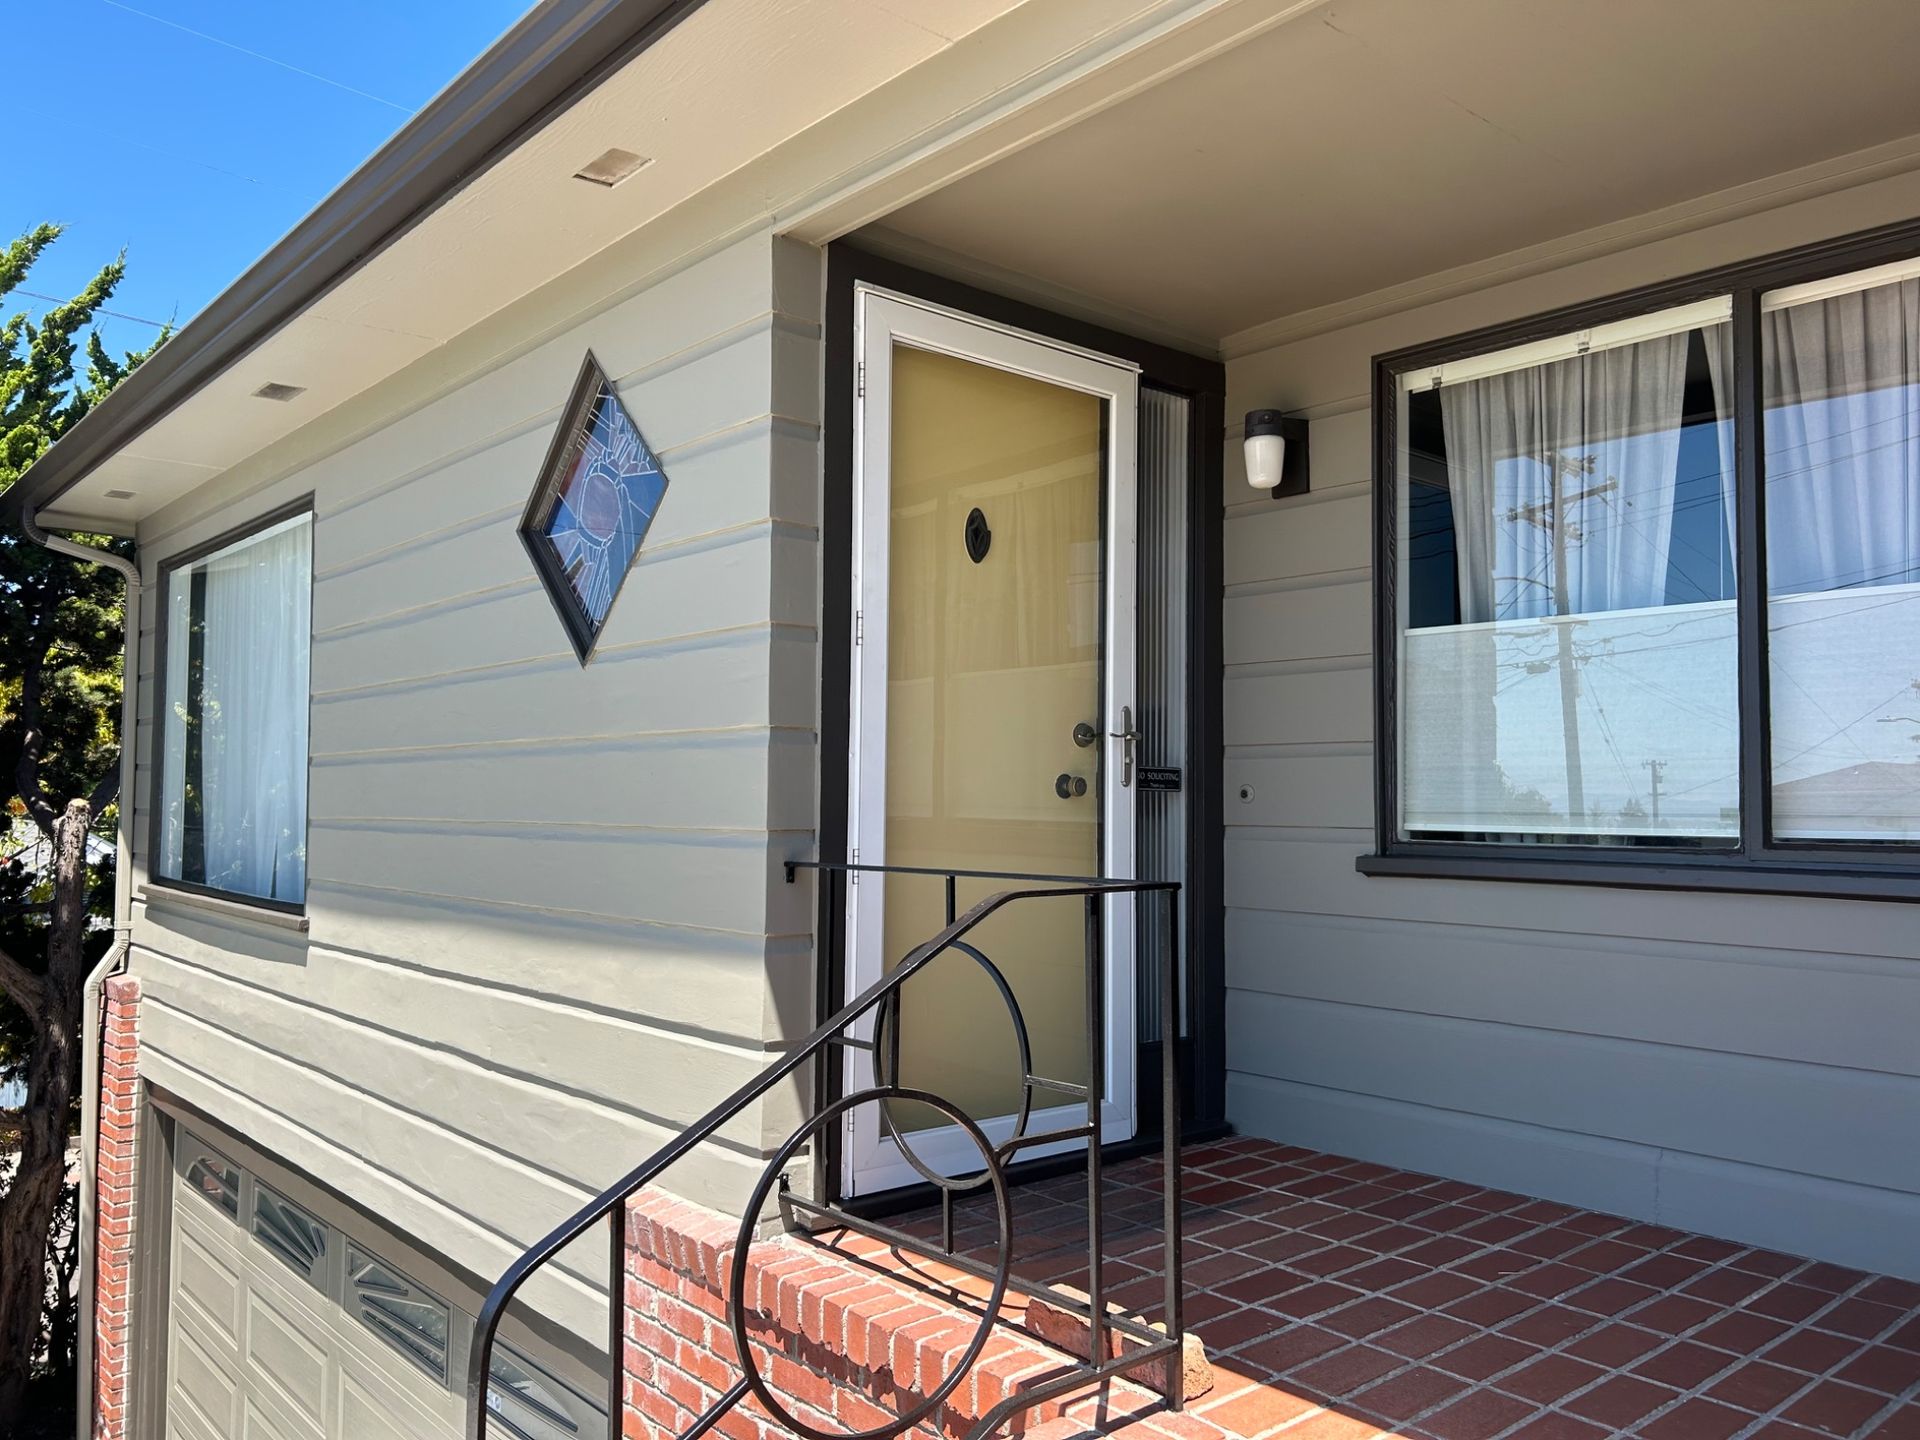
Charles MacGregor built roughly 1,500 homes in the early 1920s and '30s, and if you've spent time in Albany, you've seen his work. He had a signature style: Mediterranean-texture exteriors, large picture windows — especially in living rooms — and a fondness for split-level floor plans, whether that meant a bedroom perched over a garage or a staircase that went halfway up and halfway down.

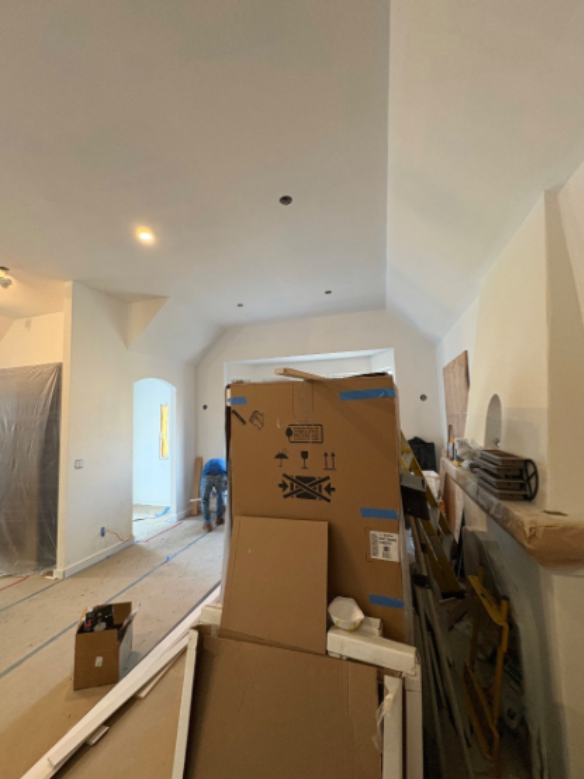
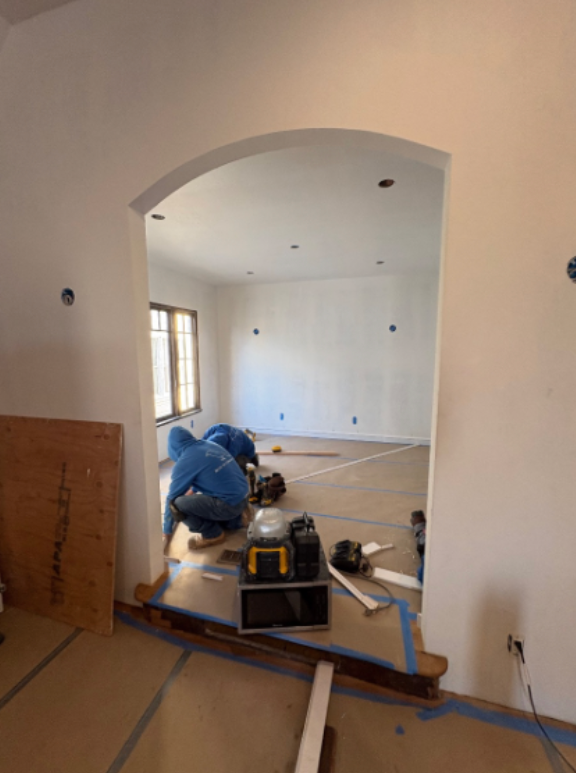
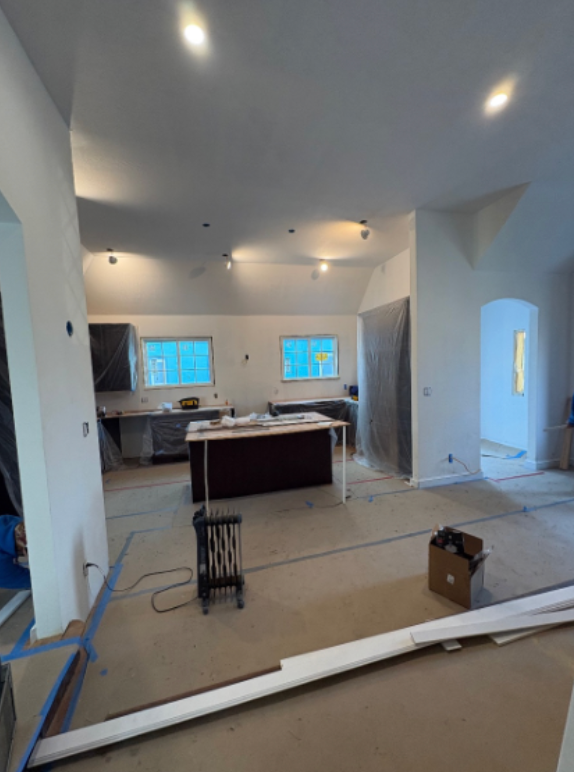
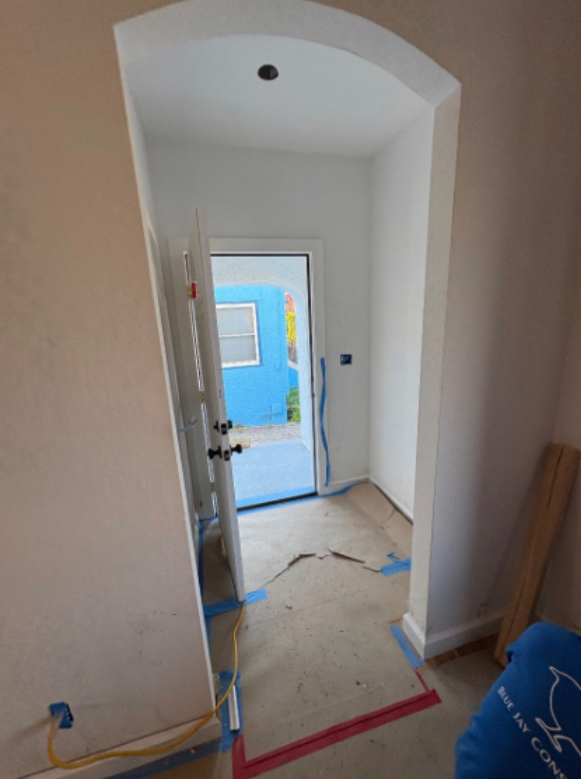
This particular MacGregor home was undergoing a near-complete remodel. By the time we arrived to estimate the job, contractors were still on-site putting the finishing touches together. New can lighting had been installed throughout, along with new baseboards, refinished floors, and all-new fixtures. The bones were original; nearly everything else was fresh.
The Challenge: Recreating Original Stained Wood
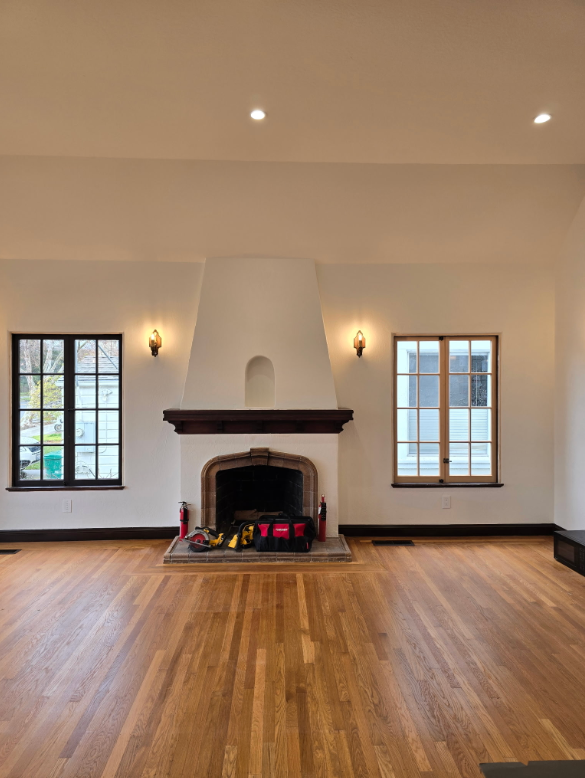
Here's where the project got interesting. The original windows — still in place, still wearing their coatings from the 1920s — gave the home an unmistakable warmth. The clients had fallen in love with that aged, stained-wood look. But the new pre-primed baseboards being installed throughout the home? Bright white. Factory-fresh. No character whatsoever.
The ask was clear: make the new baseboards look like they belong with the original windows. Recreate the appearance of old stained wood — without actually staining them.
The pre-primed baseboards were installed, and our pre-primed baseboards come out factory-coated. They’re cut and milled, and then they’re just bake-coated onto there, so they’re very much into there. It wouldn’t be worth it to sand that down and create a natural finish, and we were tasked with creating these to look like the old ones.
And it’s not easily replicated by any means. Some people said to try to do paint on them and create brush strokes of a different color, so that way they could tend to blend. We chose to go a different route. When we conferred with our paint reps about what could be a good finish, and talked to a guy who’s been in the business for 30 years, he gave us a plan of how to attack it. And it still took our work, our trials of colors, to get to the right point.
So we did test patterns, and we coated it with a base-coat stain, a full-body stain, to make the pre-primed base darker, because you’re working with a bright surface and need to convert it over into a darker surface. So we do a light sand on it to open the pores of the baseboards, and then we clean them and we go over it with a solid body stain. And then from that point, we have our base, so then we take another water-based stain. All these stains are actually water-based, which helped us to be able to create it, because oil won’t stick as well to these surfaces because they’re pre-primed. So being water-based, we were able to streak it and give it the perception of, you know, newly finished but 100-year-old, reflection-looking wood.
And then it’s very important to protect those with a top coat, because otherwise they’re just left vulnerable. Any kind of nicks or dings will chip it away, and then you’ll see that pre-primed underneath there, and nobody wants to see that. So doing a top coat on top of it, and doing two top coats, really creates the durability. So there’s cleaning happening — Swiffers, vacuums — and they are then protected and won’t chip away, so it’s not showing what they were when they first came out to be.

That meant no shortcuts. I analyzed the original coatings closely, got together with my team and our paint reps, and we worked through the best method to achieve a convincing woodgrain effect on pre-primed surfaces. The results exceeded expectations.
The Reveal
In this video, you can see exactly what we were able to achieve. Look closely at the baseboards — they almost have the appearance of real woodgrain. The texture, the tone, the warmth. All created with paint and technique, not actual stain.
We carried this finish throughout the entryway, living room, dining room, and kitchen — and we freshened up the fireplace mantle to match the same aesthetic. Every inch of new trim now ties into the original windows, creating a cohesive look that feels authentic to the home's era.


Why Wood Species and Stain Type Change Everything
I actually think that we can go into a little bit further depth just in regards to staining, because each wood species has a different characteristic to it — mahogany, redwood — and so being able to match and tie into that, it’s a delicate process. And it takes some trials to be able to find the right effect to create that.
And on top of not just which species, there’s also different types of stain, whether it’s transparent, semi-transparent, semi-solid, or solid. There’s oil-based stains. So all of that goes into effect to be able to create the outcome of what is desired. And so we methodically use each of those in preparation to treat the wood, and that’s just if it’s natural wood.
Test Patterns, Top Coats, and the Details Most People Never Notice
We have done numerous matchings on stains to have the same effect as 100-year-old wood, and like I said before, it’s a lot of trials and tribulations in order to be able to get there. A lot of times we want to sample a board of the same species, to create the test patterns and different colors, so that way we can get as close as we possibly can.
Not only that — then you have the top coating to contend with as well, to create uniformity, whether it’s a flat, a matte, a satin, or a semi-gloss. And all those can take into effect with the light reflectiveness, and how that looks with either the conjoining boards as far as old stain and new stain, or just on their own. We also use certain colored putties that are oil-based, in order to cover up nail holes, fastenings, and screws, so that they blend and look like the grain of the wood and don’t stand out in a negative way.
A Related Project: Blending New Mahogany With 100-Year-Old Wood in North Berkeley
This project was in Berkeley, North Berkeley, off of Virginia Street, a standard craftsman home. On this project, we also did a combination. Not only were we working with 100-year-old wood and new wood that was mahogany, getting the new wood to blend with the old wood, we also were trying to revamp the old wood without doing a full-scale sand-down all the way to bare, to try to get through all the layers to the naturalness of it. So there was another product that we used in order to freshen up the old, current, existing wood, and then pieced in effortlessly into the new wood that was installed on that job.
And so there’s all kinds of products that we’ve pored through in order to find the accurate ones for every single project that we do, because every single house, every single coating, every single piece of wood has a different characteristic. And so it can be a very time-consuming process.
Refreshing the Cedar Shingle Exterior
Not only did we create that effect for them on the inside — their exterior home has wood trim that has been painted, but then all cedar shingles that we treated and stained on the outside. And so with that process, we do a very thorough, tedious pressure washing in order to be able to clean the shingles, so that they can take on the stain that we’re going to apply to it. They wanted to give it an updated look, so we used a solid body stain on there that’s called Woodscapes Rain Refresh, and so when it builds up moisture, it cleans the shingles — it cleans itself over the course of time.
But so with that process, we clean them thoroughly using a biodegradable chemical to brighten the wood, clean the wood, and strip it a little bit, and then obviously biodegradable to help keep the plant life around the home safe. We then let it dry out. We looked for any shingles that needed to be replaced, or that were damaged and had kind of gone through their extent of life and needed to have newly installed ones.
And then we coat it, and we do two coats of stain, with a back roll involved, in order to truly soak it into the pores of the cedar shingles and protect those surfaces for years and years to come. So we two-coat that process, back roll it into it, and then you have what looks to be a newly renovated exterior shingle of the house that has been there for 100-plus years.
Knowledge That Bridges the Gap for Our Clients
It’s a bridge to the final goal. But having the knowledge of the different effects of each product really helps with being able to bridge that easier for us and for the clients, and give them confidence and comfortability with what we’re going to do and how we’re going to treat their homes.